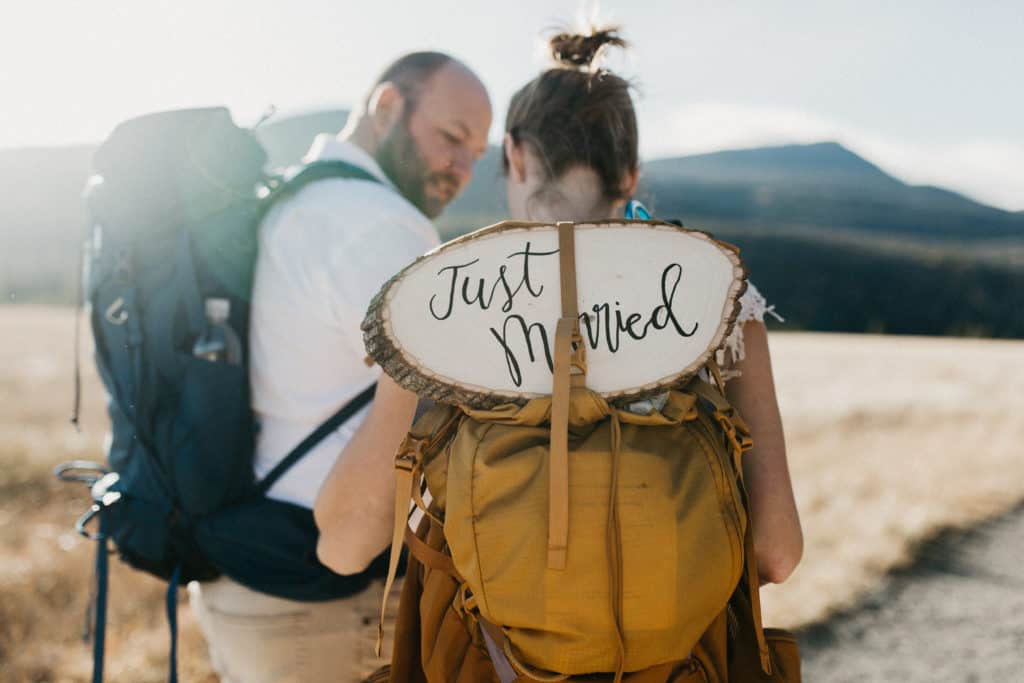
If you want a crafty, frugal, fun and special alternative to buying an elopement sign on Etsy or Amazon, simply make your own DIY elopement sign for your hiking elopement! It’s so simple, and is such a memorable activity that both you and your partner can do together before the special day!
There are NO rules to the wording that you can put on your sign. You can truly make it unique to your love story by including locations, dates, names, phrases or even drawings that speak to you both. By doing this, some of my couples felt that their sign was so special that they hung it up in their home after the elopement day. Why? Because they made their sign truly unique to them! I painted “We Eloped,” but definitely don’t feel limited in what you can do!
Basically, just have fun with this activity! Be present and relax.
PRO TIP: Cuddle up somewhere cozy with your love, put some relaxing or up-beat music on, and make it a date!

Elopement sign step-by-step tutorial:
You can spend however long you’d like on your elopement sign, especially if you have a lot of time before your special day. For mine, I spent about three hours sketching and painting the lettering to get it the way I wanted. Times will obviously vary depending on how simple or complex your design(s) and/or quote!
1. Gather your materials and supplies for your elopement sign!
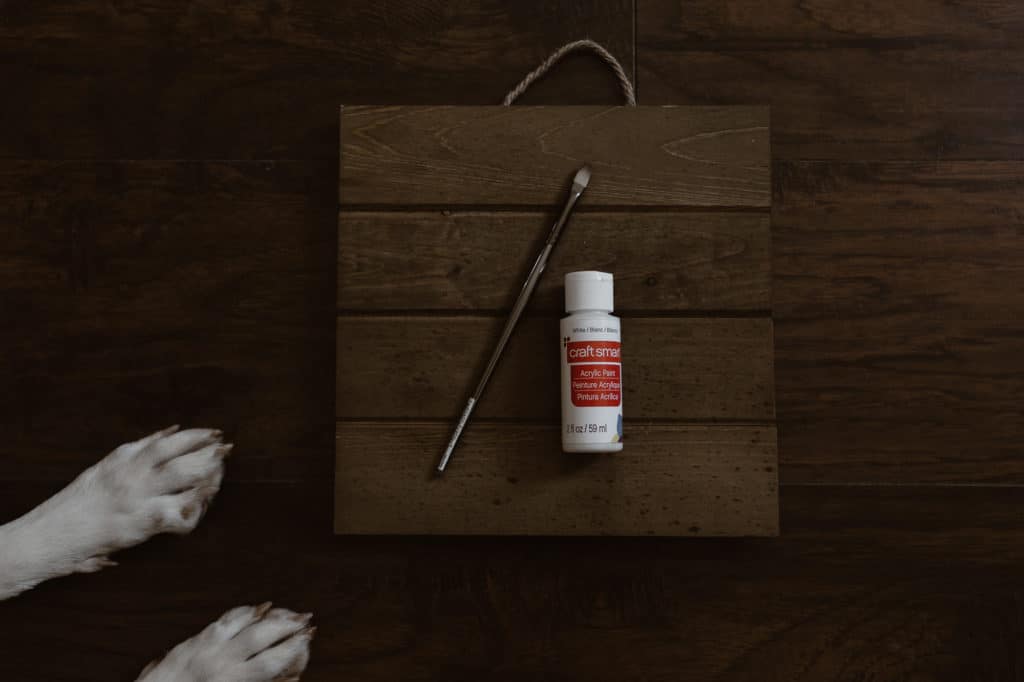
I made this We Eloped sign for under 12 dollars at Michaels, and I only bought three art supplies! Seriously–it’s that simple!
For your easy DIY We Eloped sign, you’ll need:

2. Go online to brainstorm and research ideas!
I like to do a quick search on Google or Pinterest to just brainstorm ideas for font types, sayings, or designs. This simple research helps to get the gears in my brain turning, and may help you come up with ideas too! If you don’t want to use Google or Pinterest, you can always go back to old letters or notes you’ve written to each other or to songs you both connect with in order to make your sign truly original to your love story!
3. Sketch your letters/design using a pencil.
Here comes the fun part! If you trust your hand at painting, you can skip this part entirely, but if you want a little wiggle room before you commit to using your acrylic paint, I’d suggest sketching your letters or design first! This definitely made me feel more comfortable and not so worried about my design.
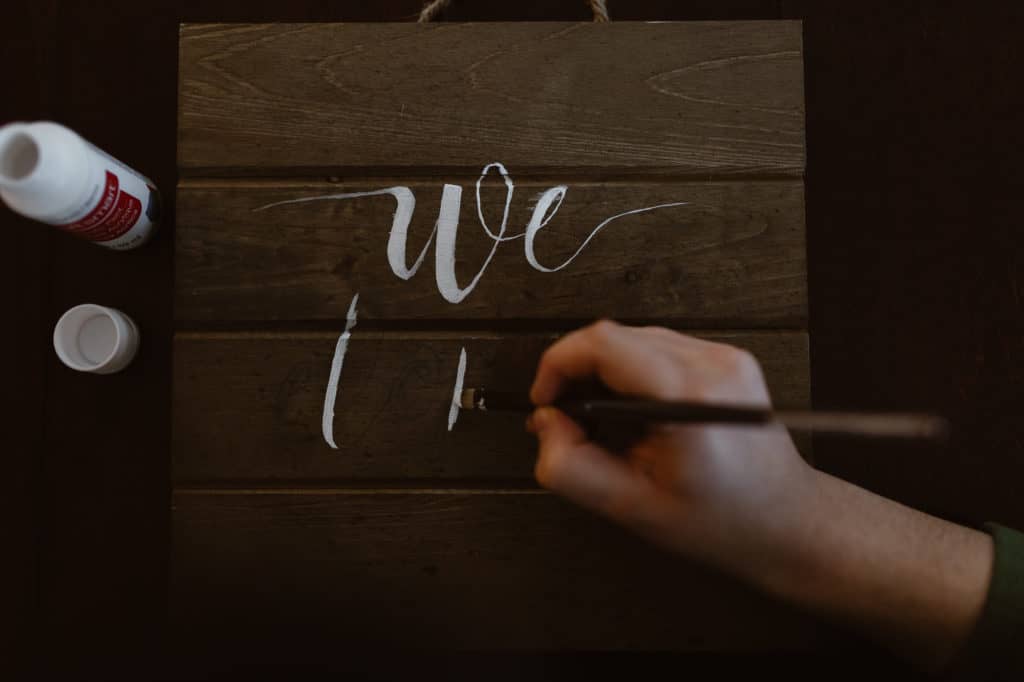
4. Start painting!
After you’ve sketched your letters/design, go ahead and start painting! Have a glass of water ready to wet your brush, and maybe some newspaper! This will prevent the paint from getting onto your table or whatever surface you choose to paint on! If you have varying sizes of paint brushes ranging from small to medium, this will make painting easier. But, if you only have one (I only had one), you can still get the job done nicely!

5. You’re done with your elopement sign!
YAY! You’ve finished your DIY elopement sign (a.k.a. your masterpiece)! Hopefully, you’ve also had a fun date with your love along the way! After your ceremony on your elopement day, make sure to attach it to one of your backpacks so your photographer can get a good shot of it! Also, If you want to know more about what backpacks are great for your hiking elopement, be sure to check out my Georgia Elopement Guide!


I totally thought this would be harder than it is! This looks so do-able and what a good resource for couples to make their very own elopement sign! So great Kayla!
Thank you so much, Kim! (: I appreciate it!!
This is so cute and such a great idea! I definitely love making it into a fun date activity! Also, how gorgeous is your calligraphy?! Sooo pretty!
Awe!! You’re too sweet! I appreciate the comment so much! (:
It’s easy to just go online and spend $$ on something like this, when you could easily find a little time to do it yourself, spend some ‘us’ time and then have something truly unique to you!
Thanks so much for the comment, Sam! Yeah! I definitely feel like it’s such a fun way to get creative with your partner, and make it truly your own! The ones you can buy online are super cute–don’t get me wrong–but I love the creative and personal touch!
What an amazing idea and tutorial! Fun idea for couples to do together and bring more memories to the big day.
Thanks so much, Jess! I definitely feel like it could be super fun for couples!! (:
Such a fun idea! I see these on Etsy all the time but it’s so easy to make an elopement sign yourself! Thanks for the tips.
Afton, thanks so much for commenting! I definitely think it’s super easy and probably cheaper to make your own! (: Especially if you can find materials at your house!
This is such a great idea!! I’m definitely going to refer back to this for my own off-roading elopement next summer!
Ok you definitely blew my mind with how easy it is to create a sign like this. Also, adding personal touches like this just makes the day even more special.
The dog IS absolutely needed, lol! Thanks for putting this guide together! So much room for couples to get creative with their “just eloped” signs!
Hahaha. You’re right. Dog is 100% needed for the best time! Thanks for commenting! (:
I am literally going to send this post to some couples right now! What a great idea, and it helps them personalize their day even more. Thanks for the awesome tutorial!
Awe!! Thank you, Krystal!!
Omgosh I LOVE this, it’s so detailed and the photo examples makes it so easy to read! Thank you for sharing this, I love how your pup was totally a part of this!😂❤️